Integration guides
How-to guide to integrate LiberSave payments to your online store
Payment button and checkout page
You can integrate payment with LiberSave coupons to your online shop. This will enable your clients to pay for your goods and services quickly and easily by scanning the QR-code or just clicking a button.
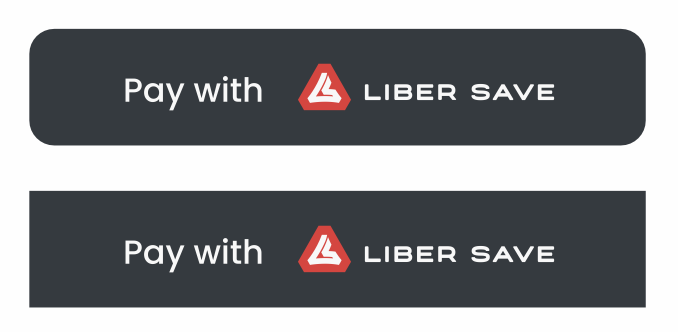
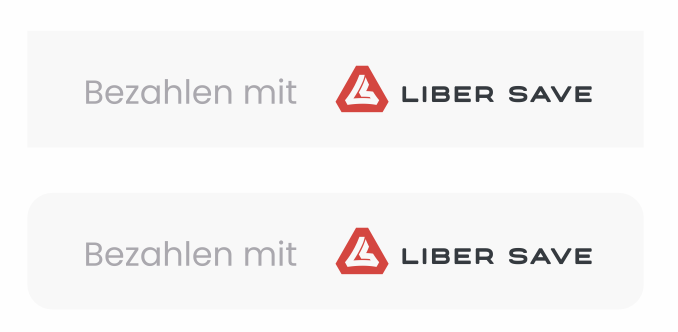
On the UI of your online shop, the LiberSave checkout script renders customizable and localizeable button which you can put among other available payment methods.
When Customer clicks on the button, the script redirects them to secure checkout page at https://libersave.com/pay/ where the Customer gets the payment instructions in the form of a QR-code specific to their payment.
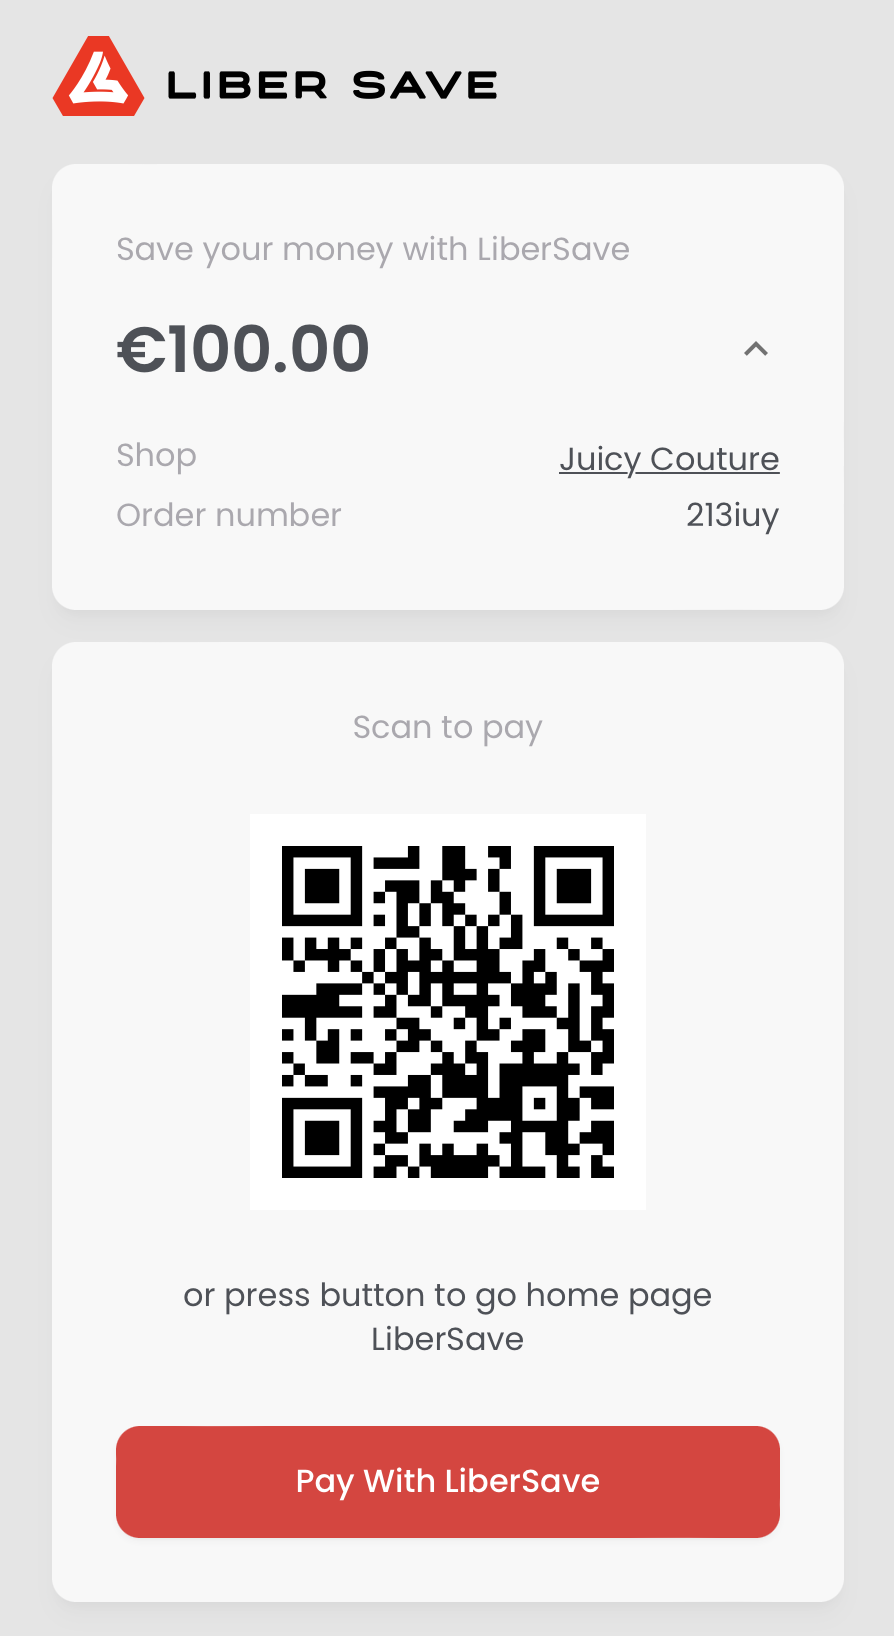
Customer may scan the QR-code with their mobile phone or choose to pay by signing in on the web version of LiberSave by pressing the “Pay with LiberSave” button, this redirects Customer to their LiberSave mobile UI. In both cases Customer has just to confirm the payment, the details for the transfer are loaded automatically.
Integration
To start integration with LiberSave payments add script checkout.js to <head> or to the end of <body> tag of your payment page.
<script src="https://libersave.com/pay/checkout.js">
To show button you should to call function
document.liberSave.renderCheckoutBtn(domElement, paymentOptions, buttonOptions)
Parameters
domElement - required
DOM-Element where button will be rendered.
paymentOptions - required
{
    orderId: string,
    amount: number,
    appId: string,
    locale: string
}
- orderId - your order id, required field, used to send transaction info via callback
- amount - amount in EUR, required
- appId - application id, required to get your appplication id please contact your LiberSave manager or Support Team support@libersave.com
- locale - button texts locale. Can be “en” or “de”, “en” by default
buttonOptions - optional
By default will be rendered rounded black button with 328px width.
{
    color: string,
    width: int,
    isRound: boolean
}
- color - one of three color styles (‘red’, ‘black’, ‘white’), default black
- width - button width in pixels, 328px by default
- isRound - button corners style, default true
Example
<script>
    const lbr = document.getElementById('lbrsv-pay');

    const showPayments = () => {
        document.liberSave.renderCheckoutBtn(lbrMethod, {
            amount: 100,
            appId: APP_ID,
            orderId: '213iuy',
        }, {
            isRound: true,
            width: 220,
        });
    }

    document.addEventListener('DOMContentLoaded', showPayments);
</script>
Callback and redirections
As a Merchant, you have the possibility to set in your LiberSave profile your personalised
- Success URL - we will redirect the Customer to this page after the payment is completed successfully.
- Failure URL - we will redirect the Customer to this page in case the payment fails.
If urls aren’t set, Customer stays in their LiberSave account.
You can also set the Callback URL. We will use this URL to send you the callback with the result of the payment so you will not need to check your LiberSave profile.
Callback payload
After processing transaction we will send POST request to your Callback url with payload in format below
data: {
  order_id: string // id of your order passed to render script at previous state
  amount : float // transaction amount in coupons
  currency: string // coupon name
  success: boolean // transaction status
},
sign: string in base64 //data signed with your merchant secret